Hi there...It's me again and this time I am bringing one of my advanced sculpting techniques used with marzipan to create a magic monkey. To be honest same techniques can be used with sugarpaste and polymer clay as well. Since this is an advanced tutorial I am breaking into 2 parts.
- Marzipan
- Airbrush color (Black & Brown)
- Gold Dust
Tools you need:
- Rolling pin
- Cutting wheel
- Dresden tool
- Scallop tool
- Shell tool
- Mat
Step 1: Blend some tylose powder into the marzipan with a pinch of CMC powder, the proportions will vary depending on what you are making and how firm or elastic you want it, then roll it into a ball to form head.
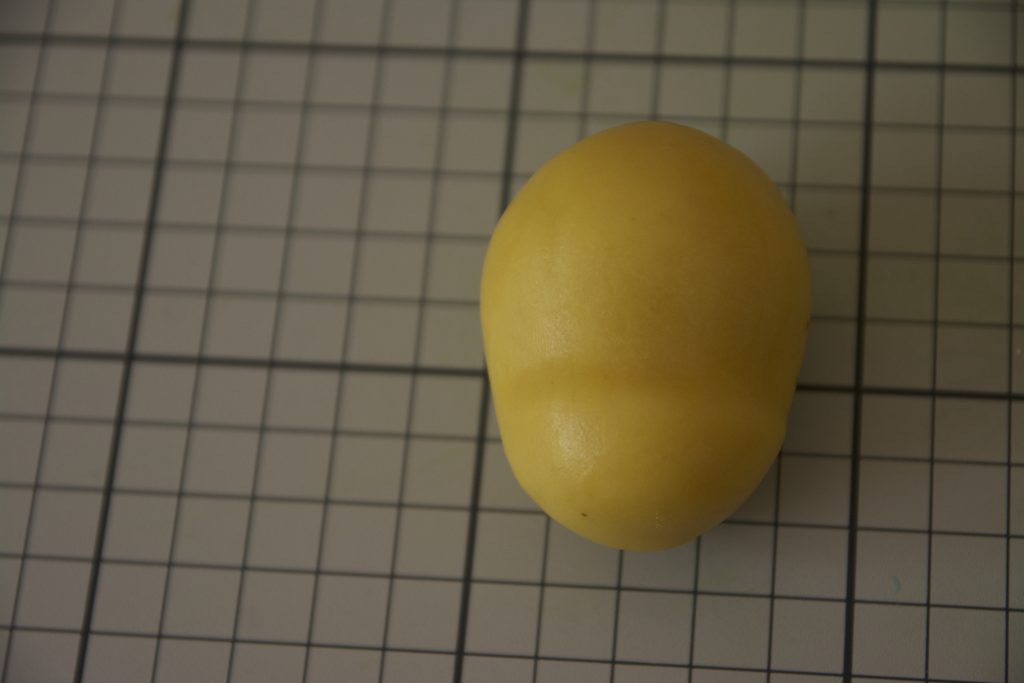
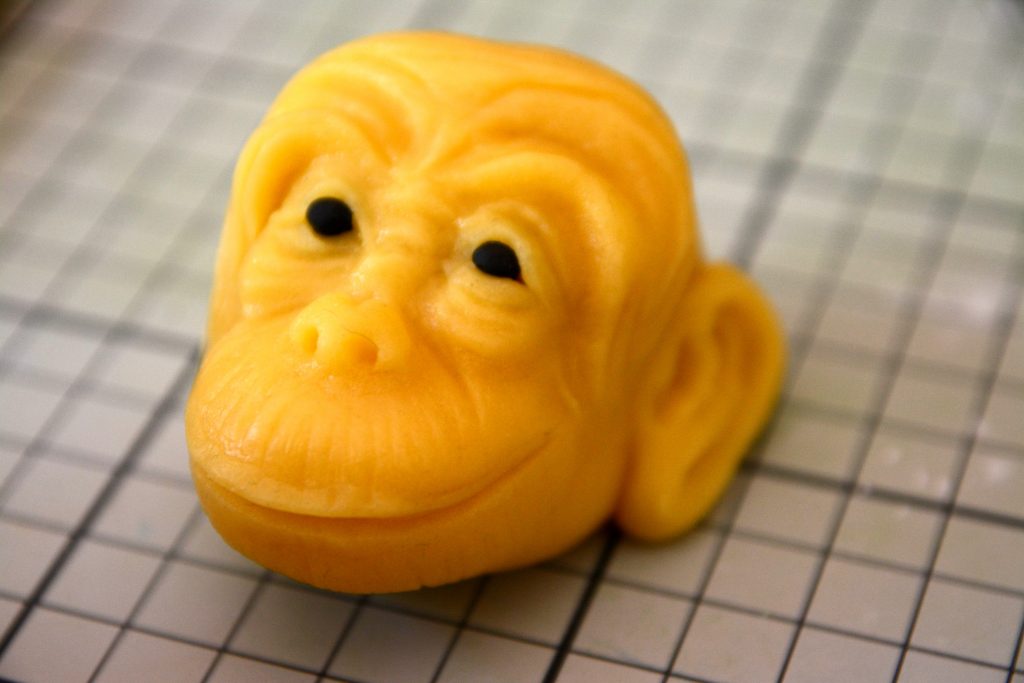
Step 2: Using your thumb press in the middle and make an elongated head shape.
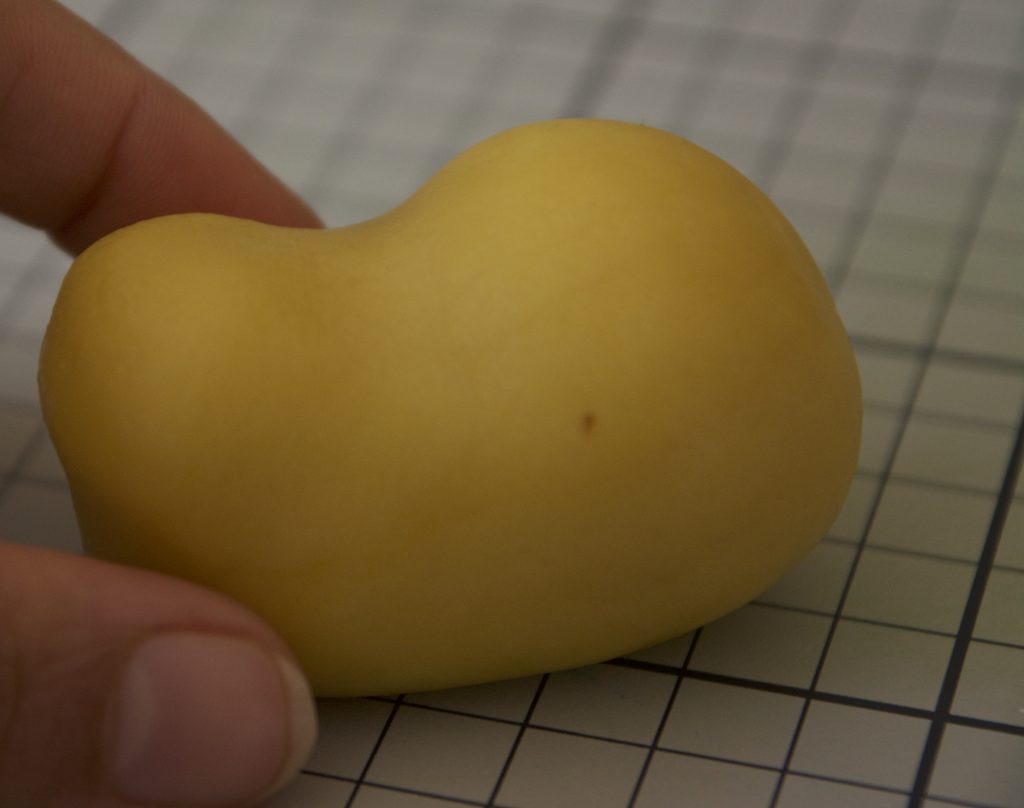
Step 3: Slightly pinch from sides to make the mouth.
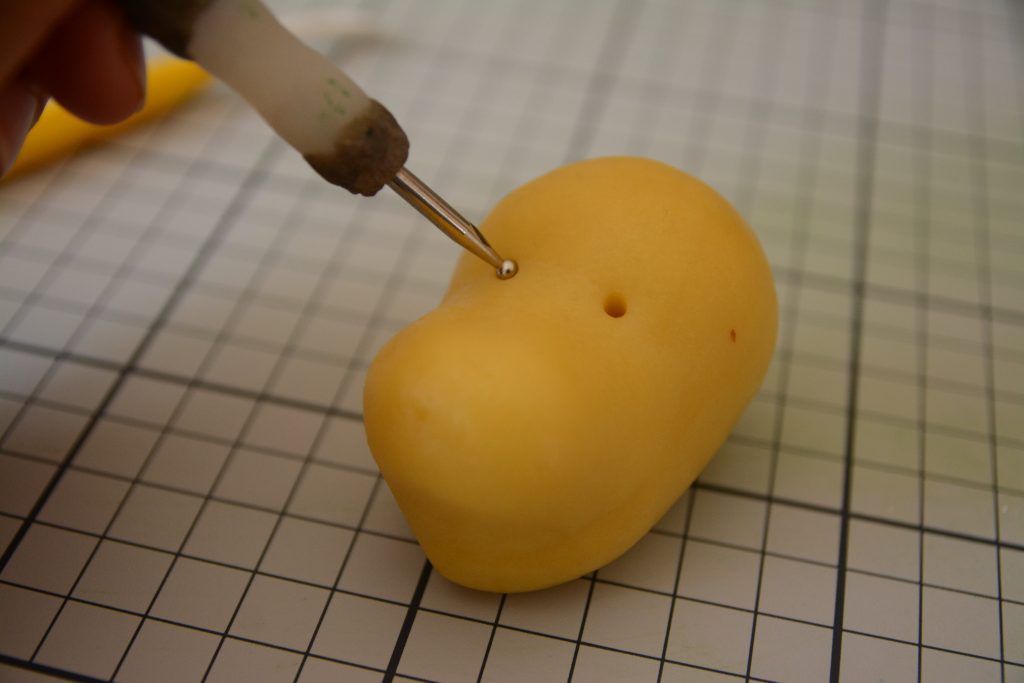
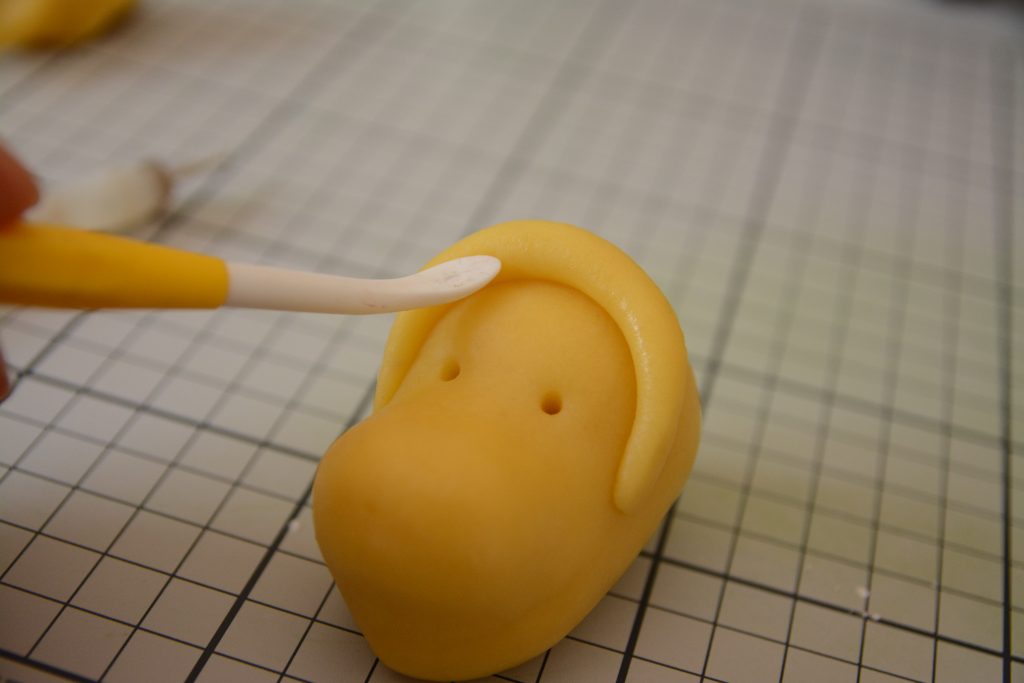
Step 4: Mark the position of the eyes with the ball tool.
Step 5: Roll a small piece and place on forehead, then blend using a leaf tool.
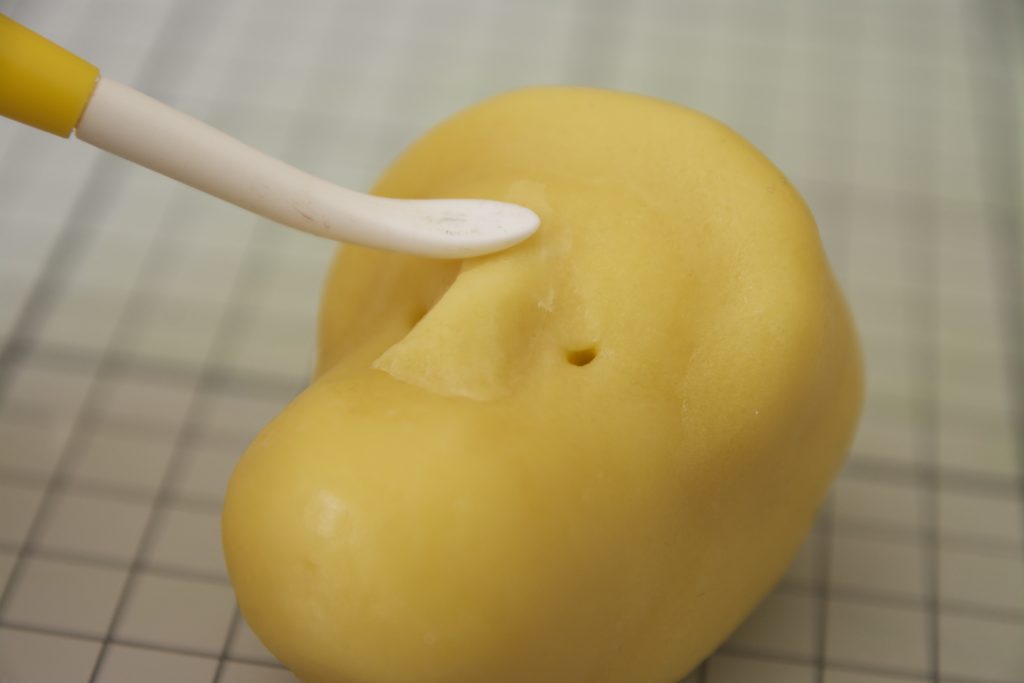
Step 6: Pinch a small piece out to form the nose and blend well
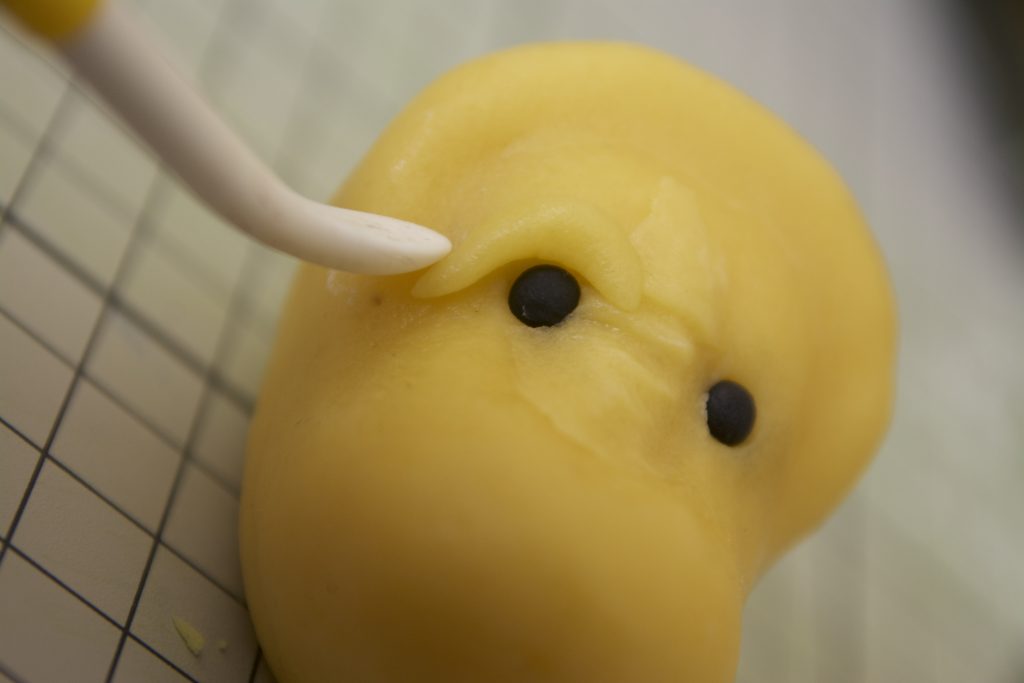
Step 7: Make small eyeballs in black

Step 8: Make small eyelids and place over and under eyes and smooth the edges
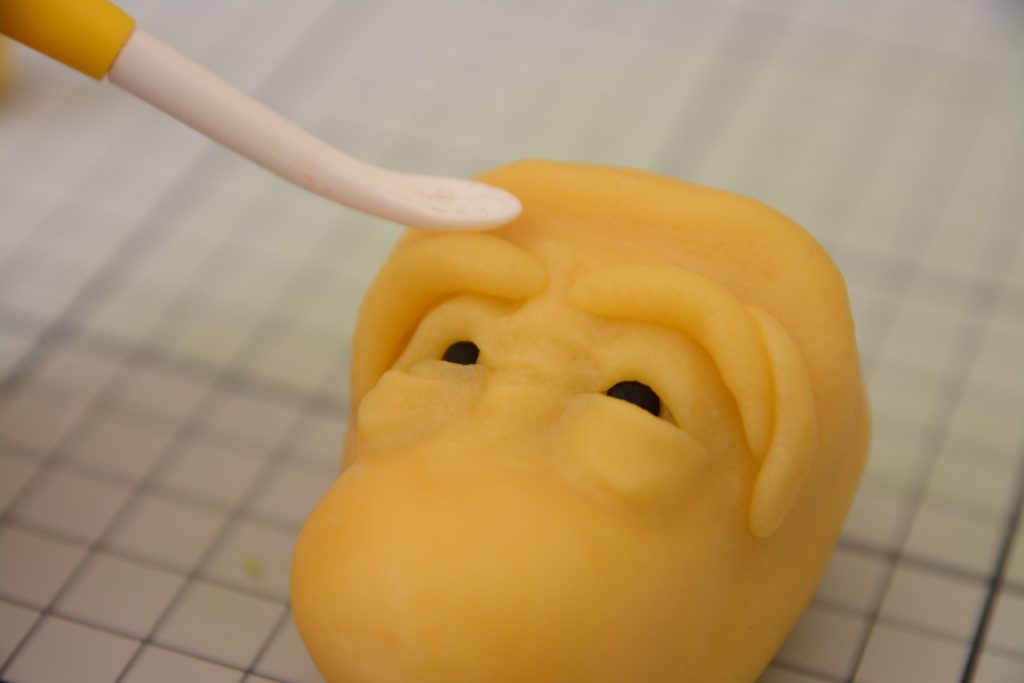
Step 9: Mark some lines on forehead
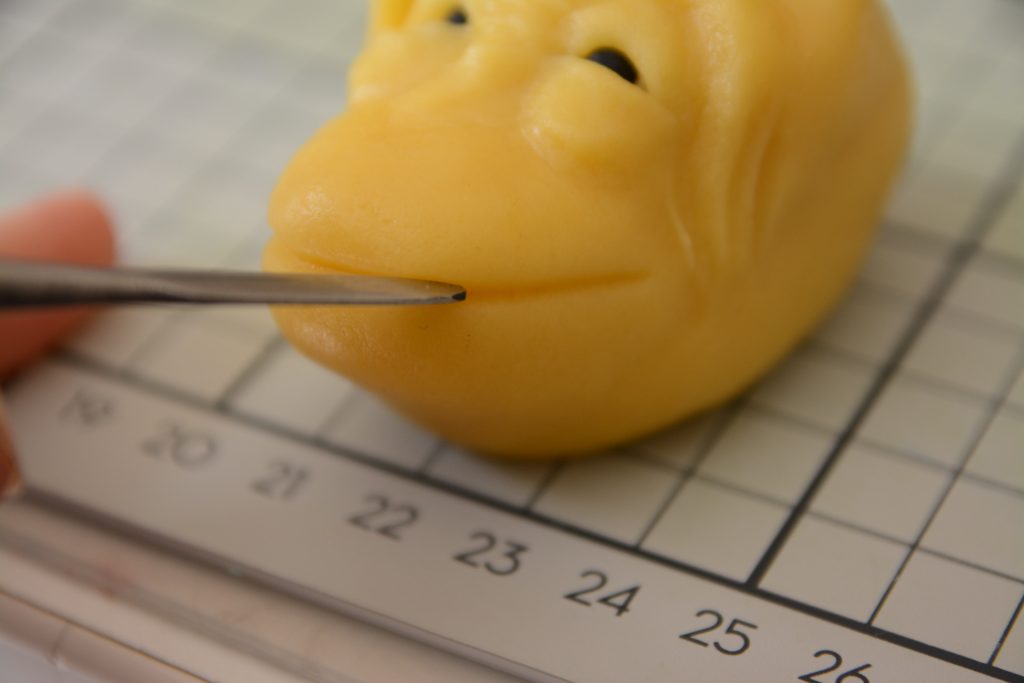
Step 10: Using a sharp knife tool make his mouth.
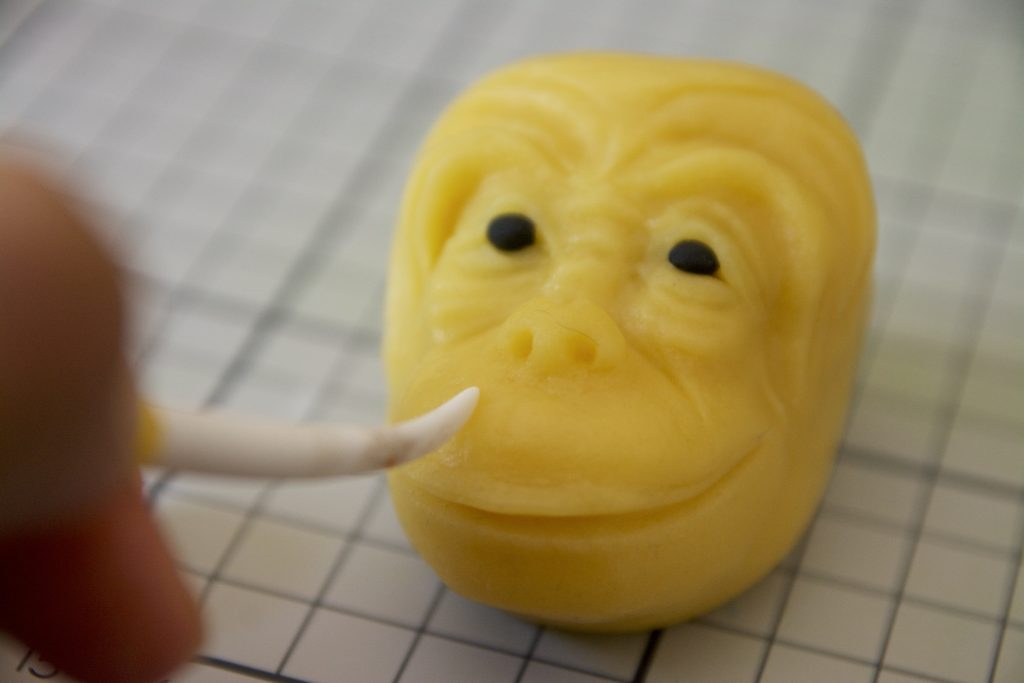
Step 11: Add a tiny triangular piece to form his nose and using a small ball tool make his nostrils.

Step 12: With the help of any blending tool or leaf tool make his lips.
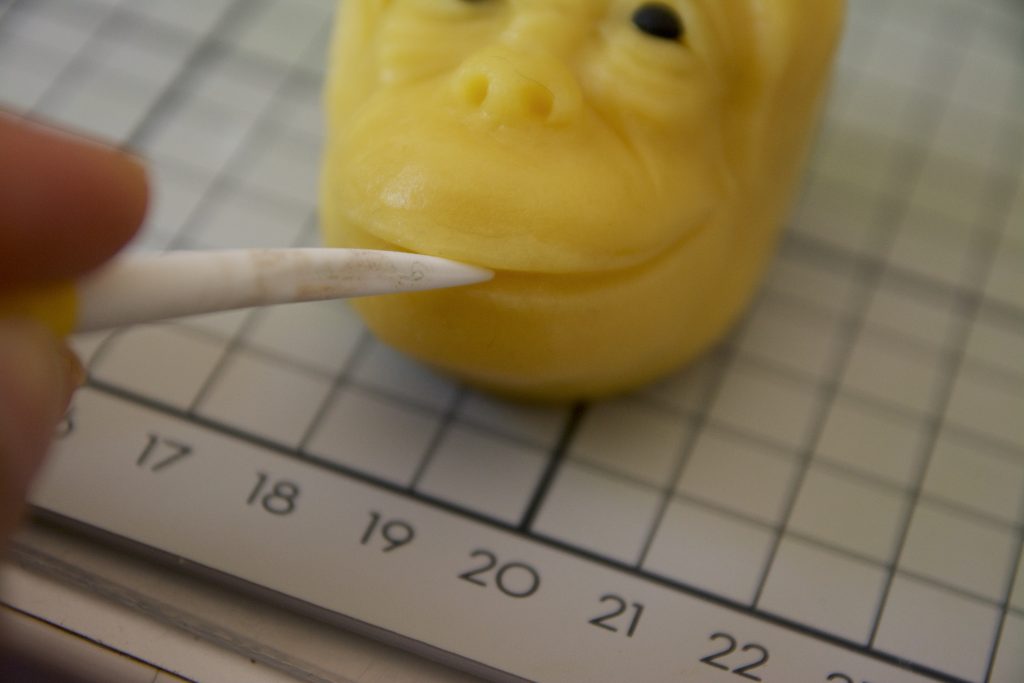
Step 13: From the sharp side of the leaf tool mark some lines over his mouth.
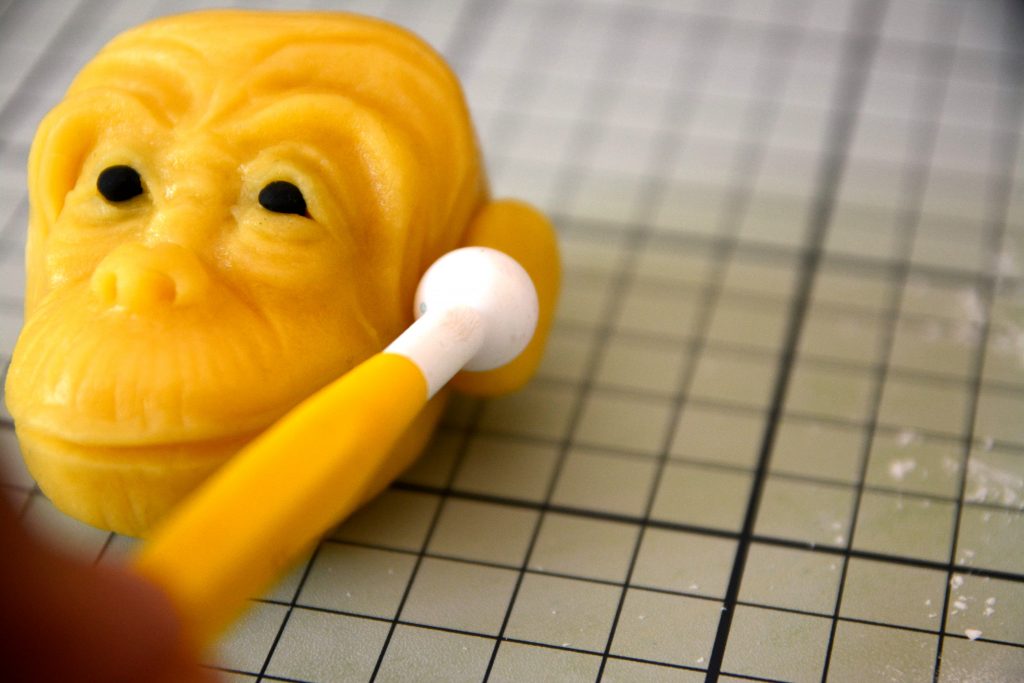
Step 14: Roll an oval piece to form his ears

Step 15: Using a ball tool fit the ears in position.
Step 16: Again with soft modelling tools or sugar shapers form the lines in the ears.
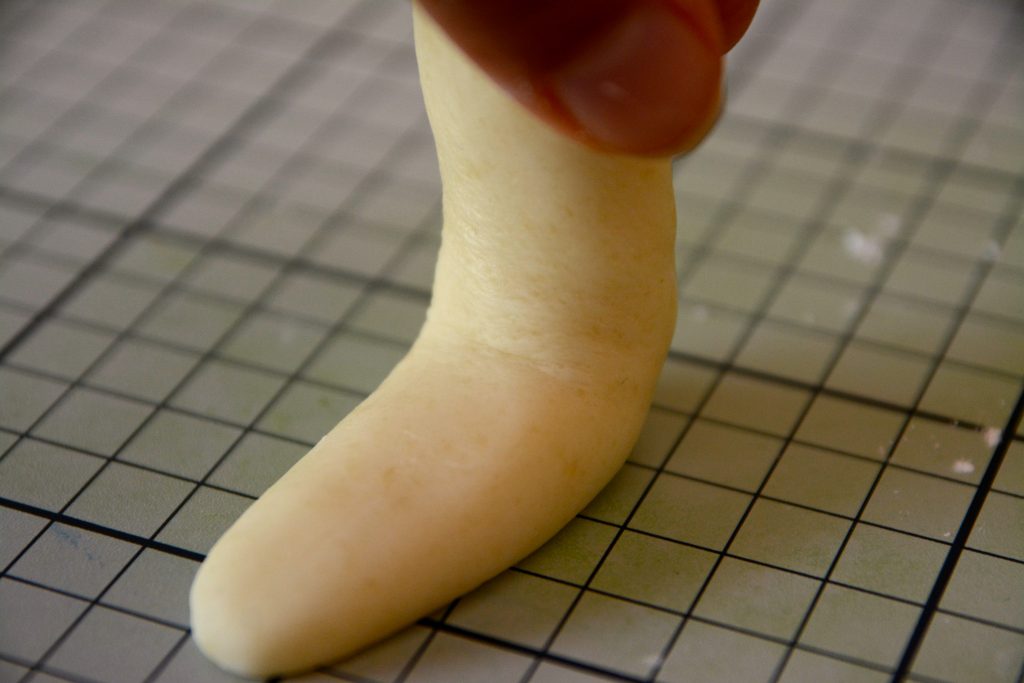
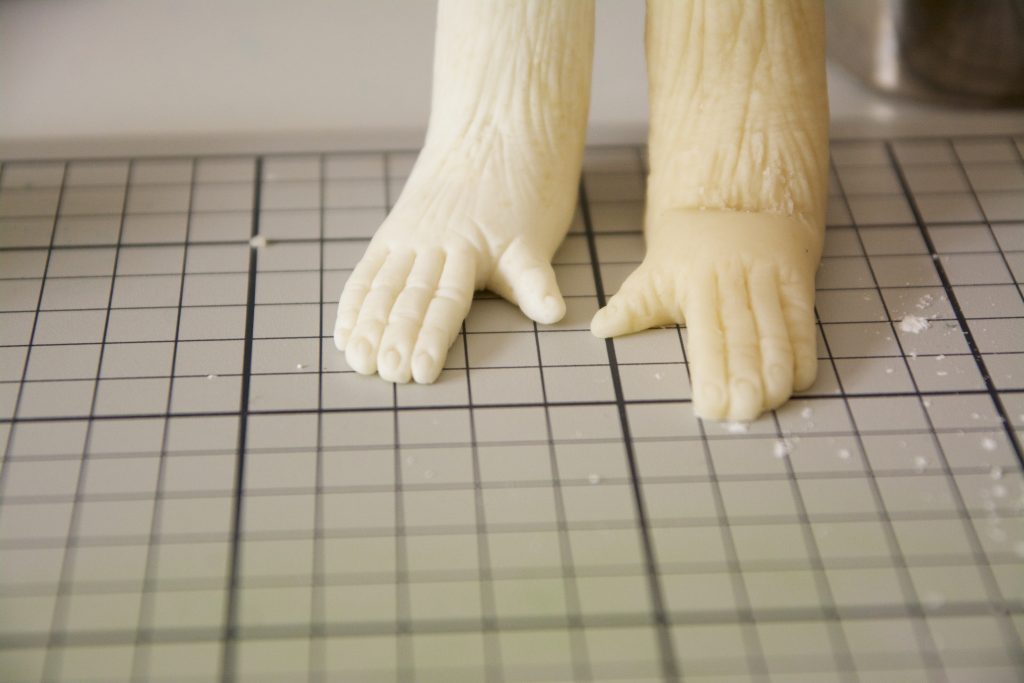
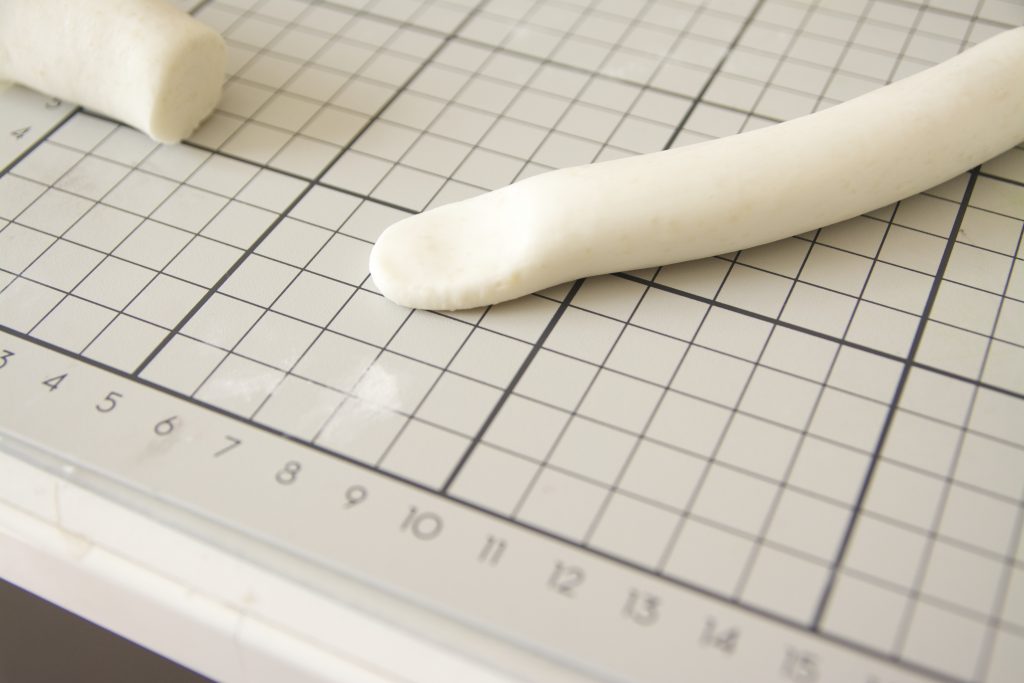
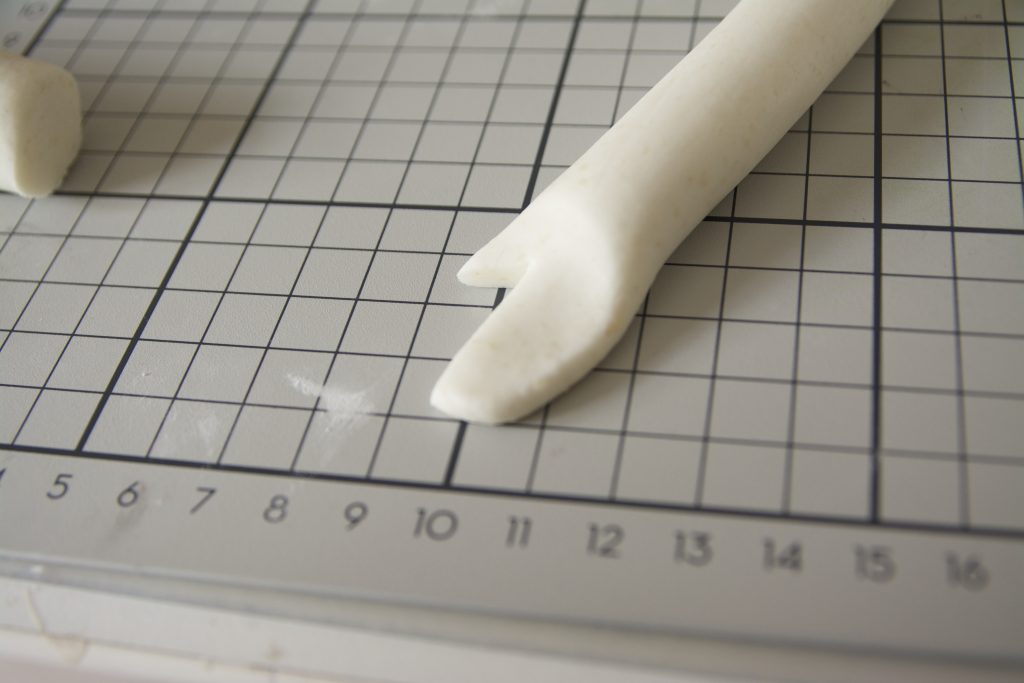
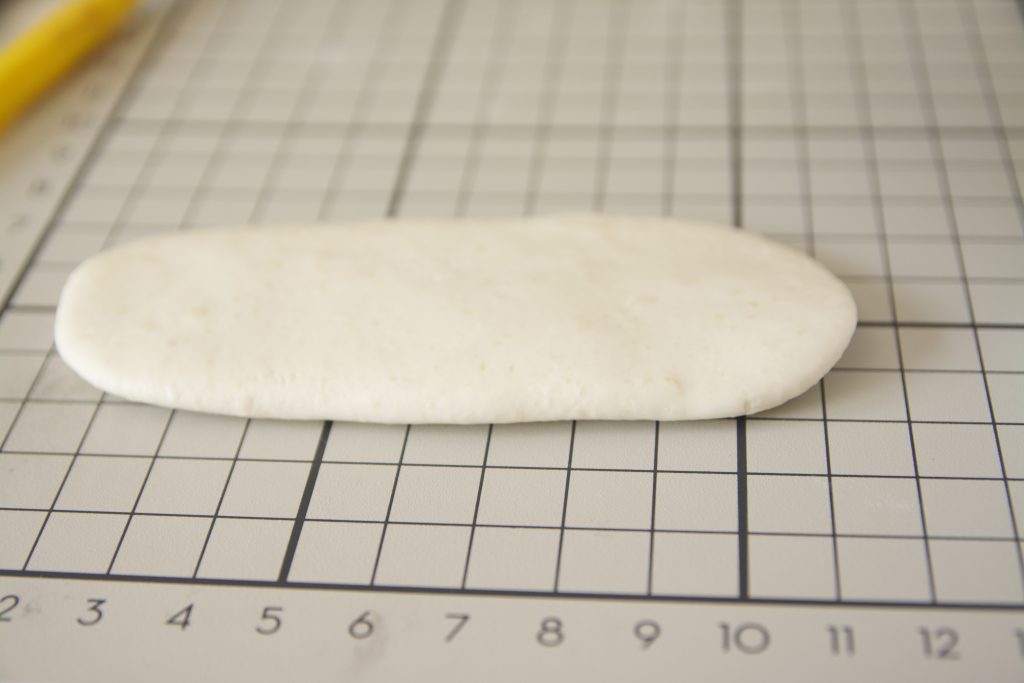
Step 17: For the legs I have used the white/cream marzipan, and rolled into sausage shape flattening on one end.
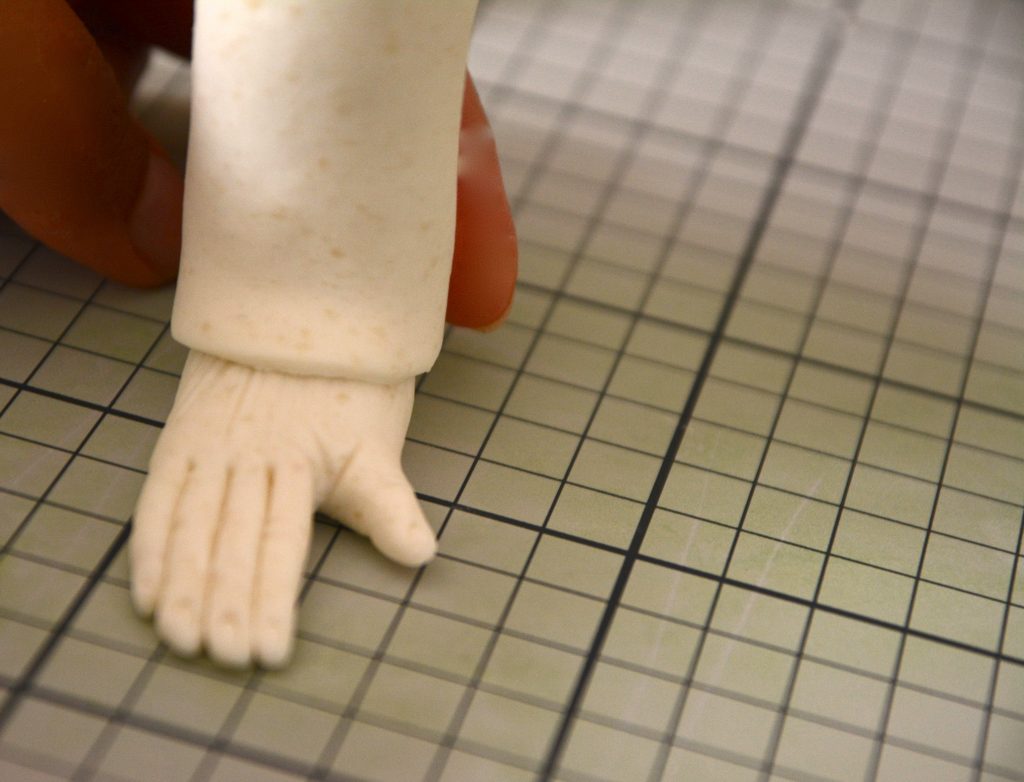
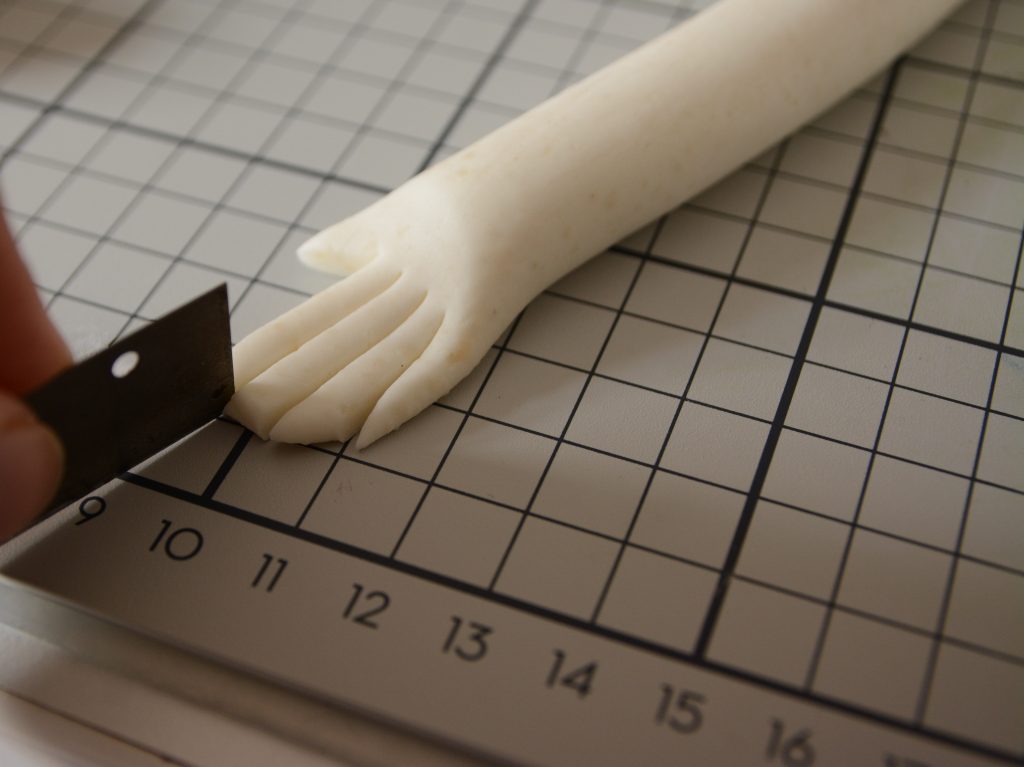
Step 18: Cut the fingers starting with the thumb, remember that the monkey fingers are a little longer than the human fingers.
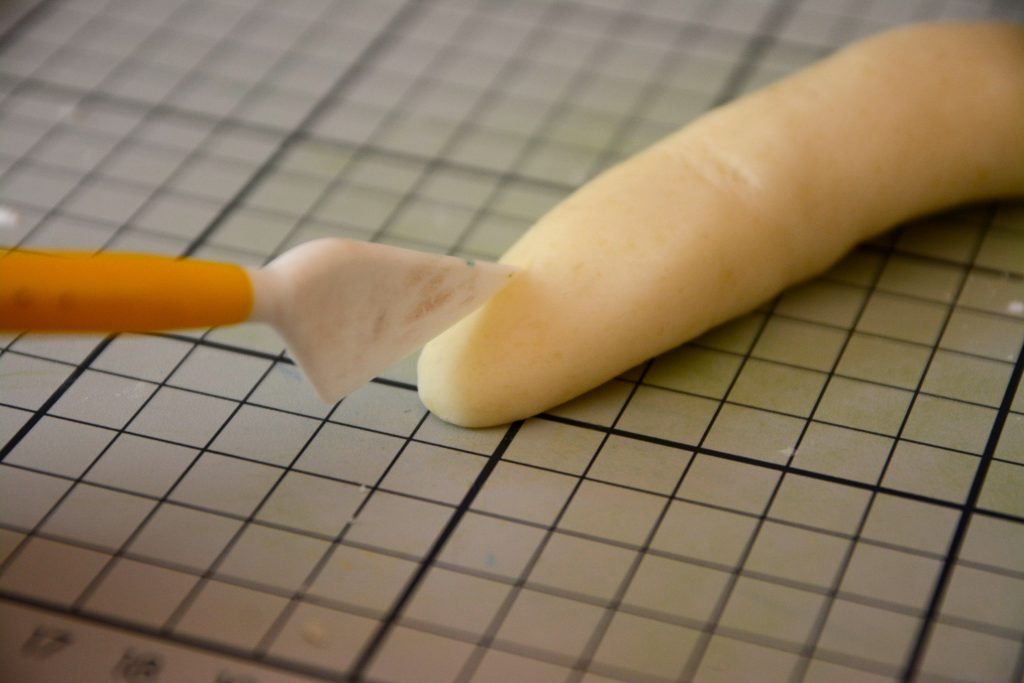
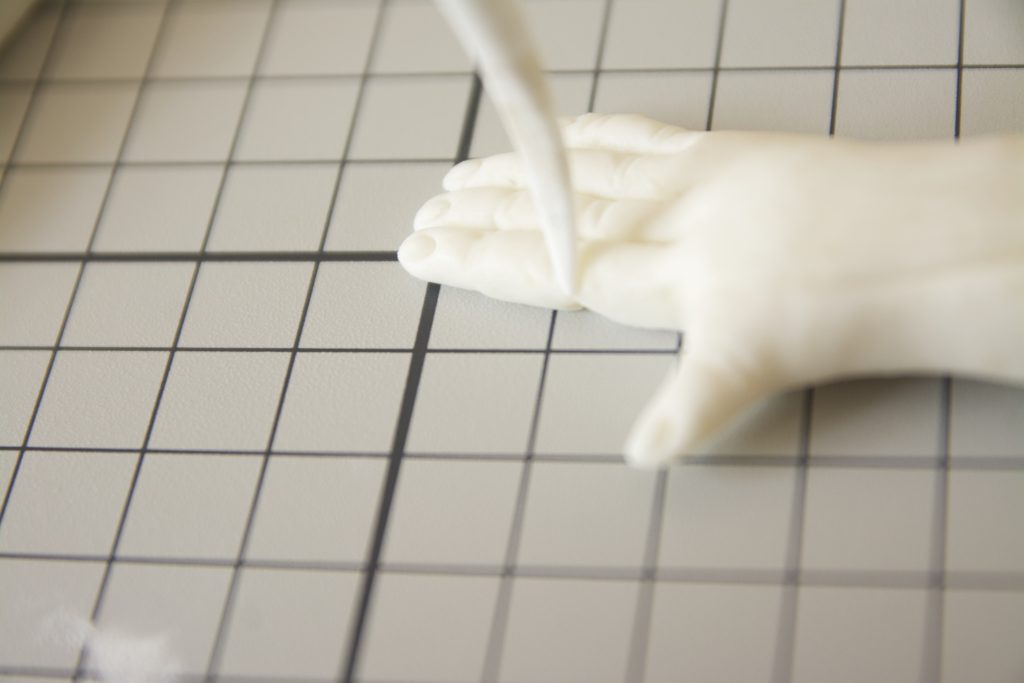
Step 19: Smooth the sides of each finger and mark the nails and some finger lines.

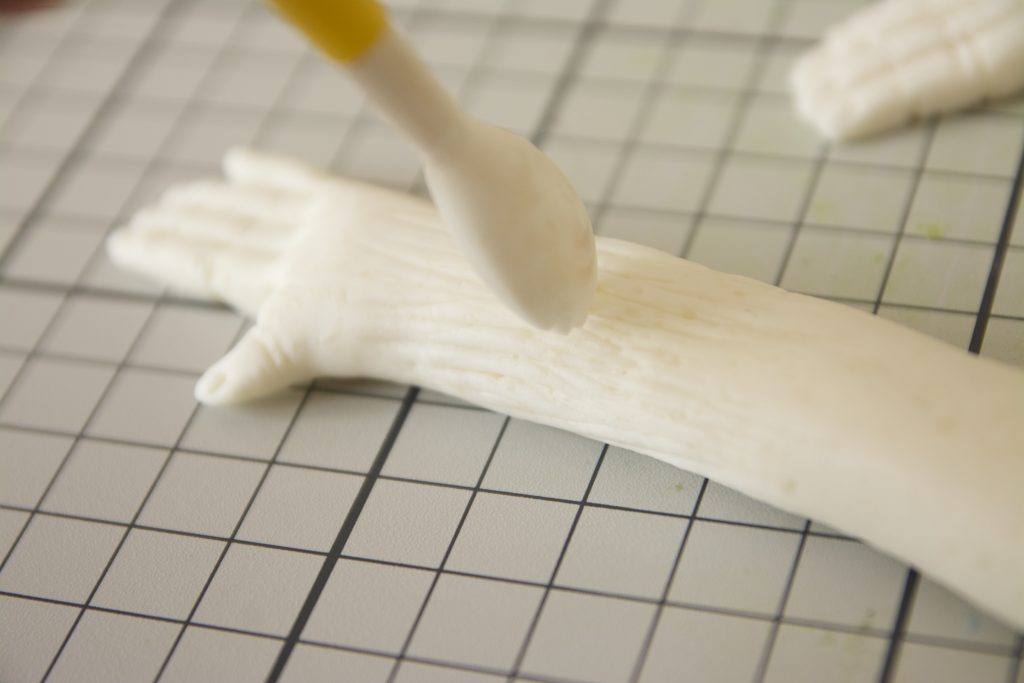
Step 20: Using the sharp side of the leaf tool or any knife do the fur texture on the legs.
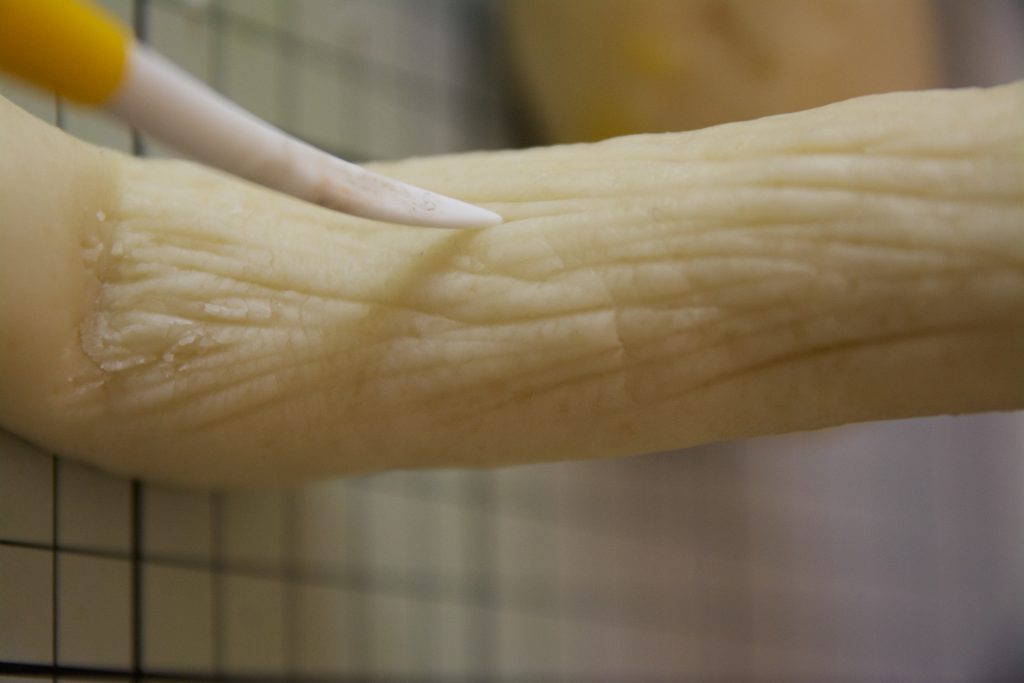
Step 21: Do the same on the other leg.
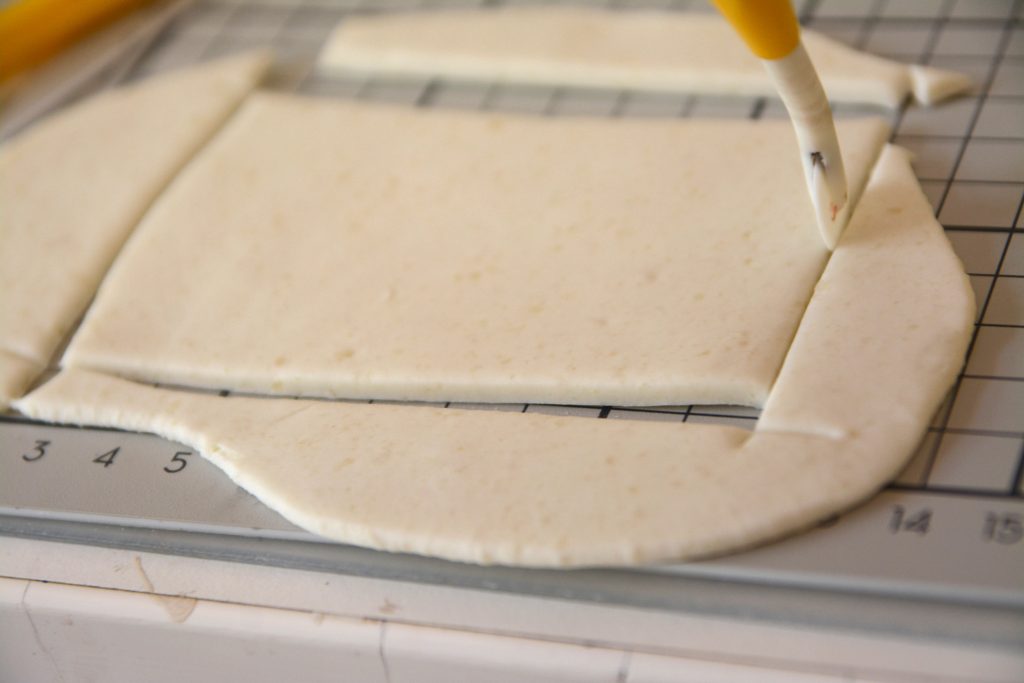
Step 22: For the trousers roll the marzipan into a thin sheet,I have added slightly more tylose powder than I would to improve its elasticity, it would usually be 1 tsp for 100 gms marzipan.
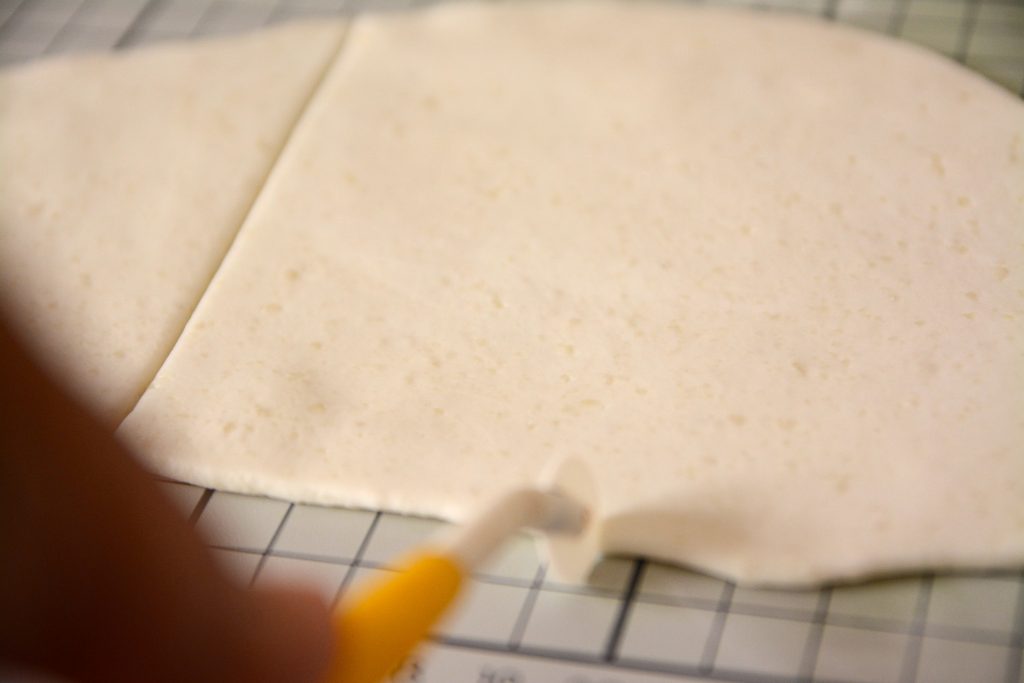
Step 23: Cut a rectangular piece the same length as the leg, use a thread to measure what width or length is required

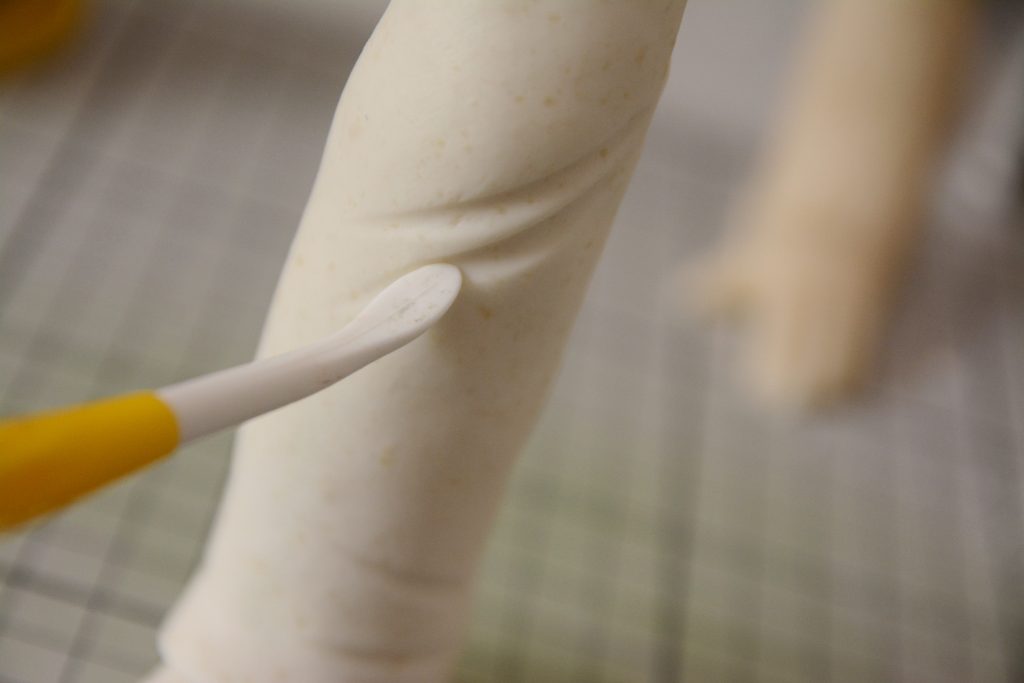
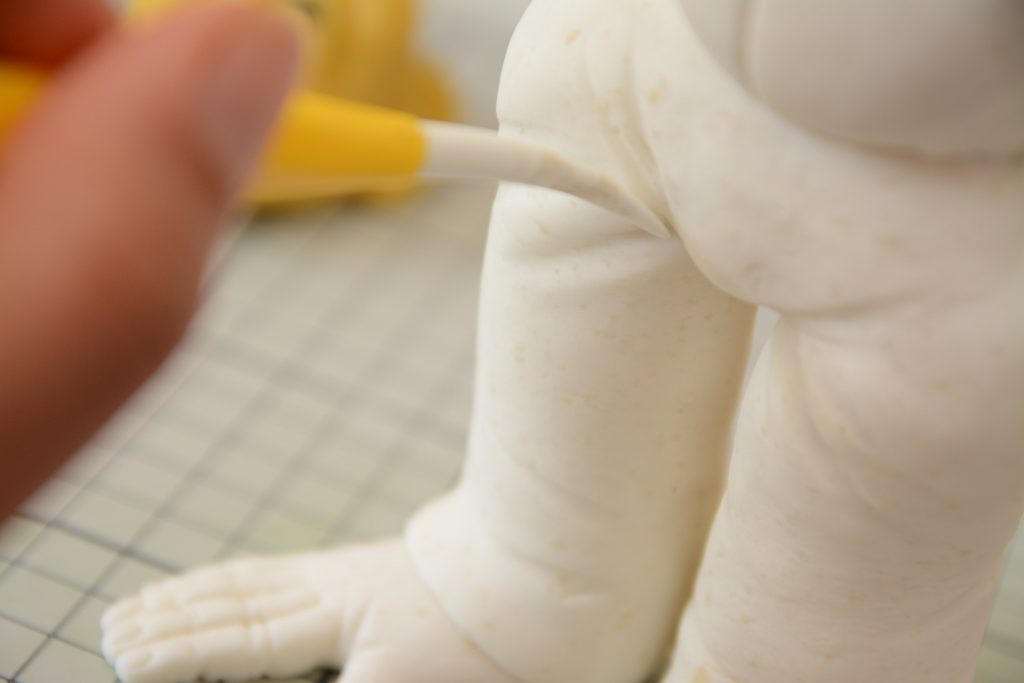
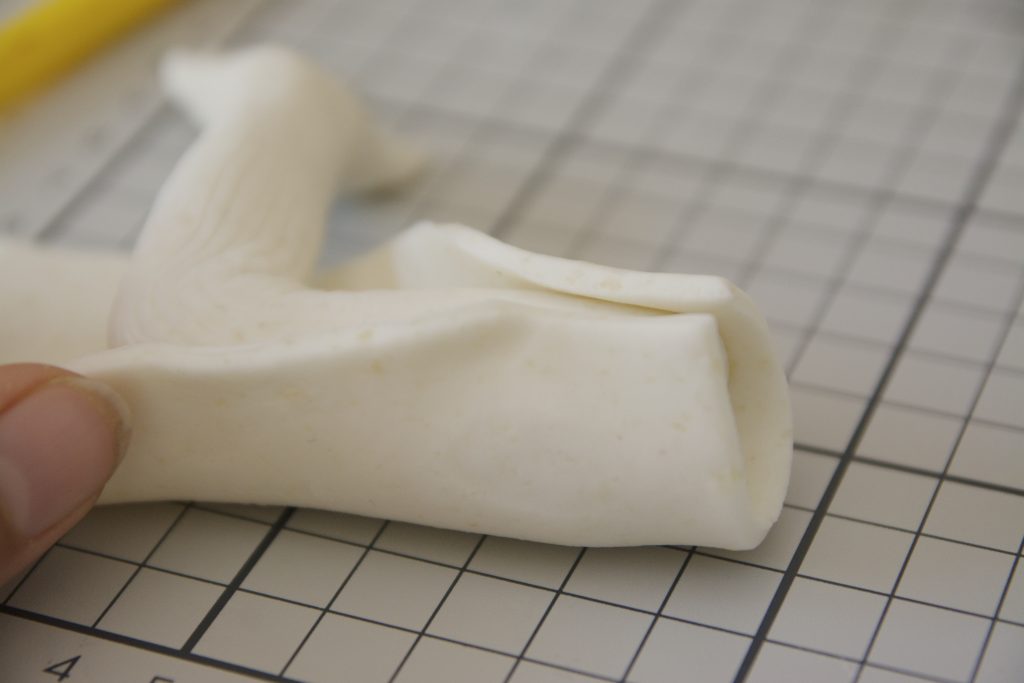
Step 24: Cover around the legs and then blend the joint
Step 25: Now make some creases on the trousers for a realistic look
Step 26: For the body roll an oval shape and place on top of the legs, use internal support if required,draw a line in the center to show the button line of his shirt.
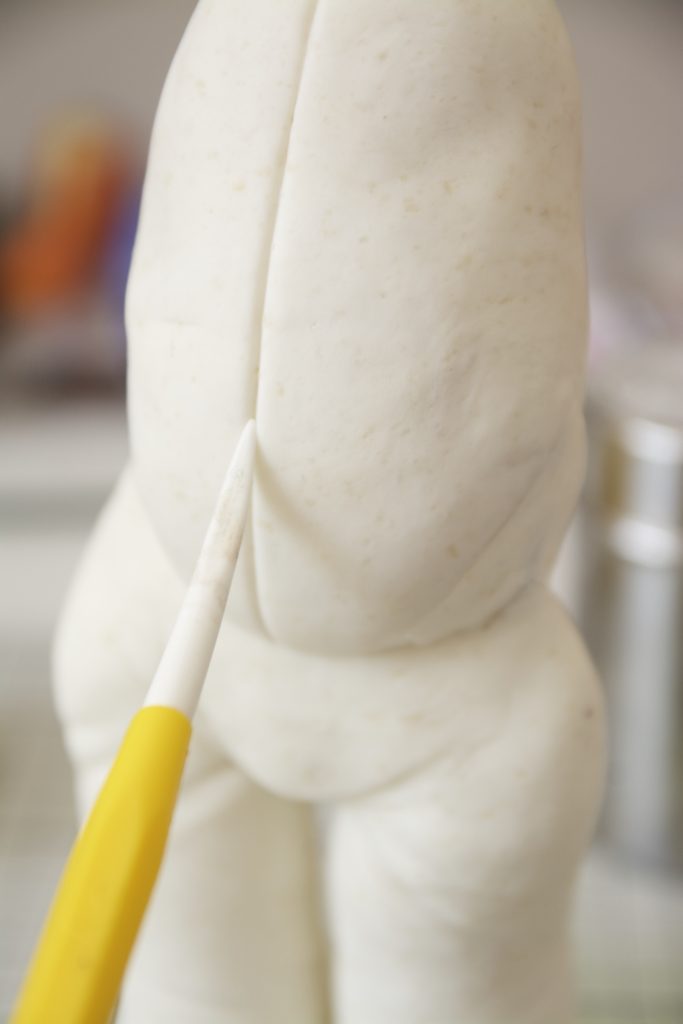
Step 27: Make few more creases near the crotch line too
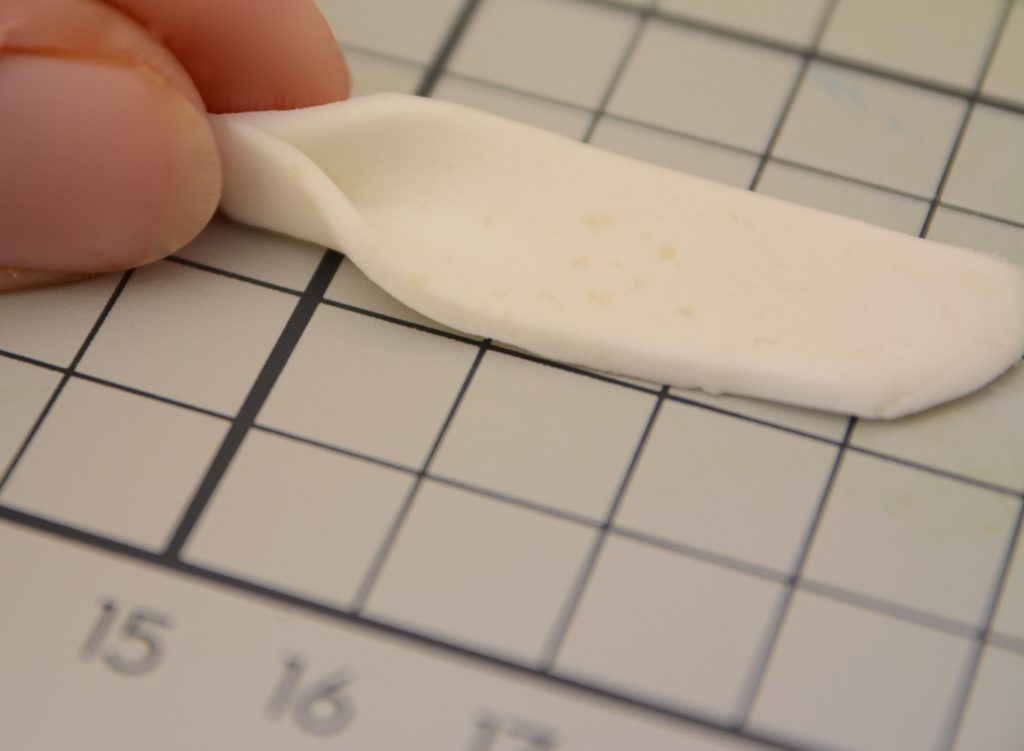
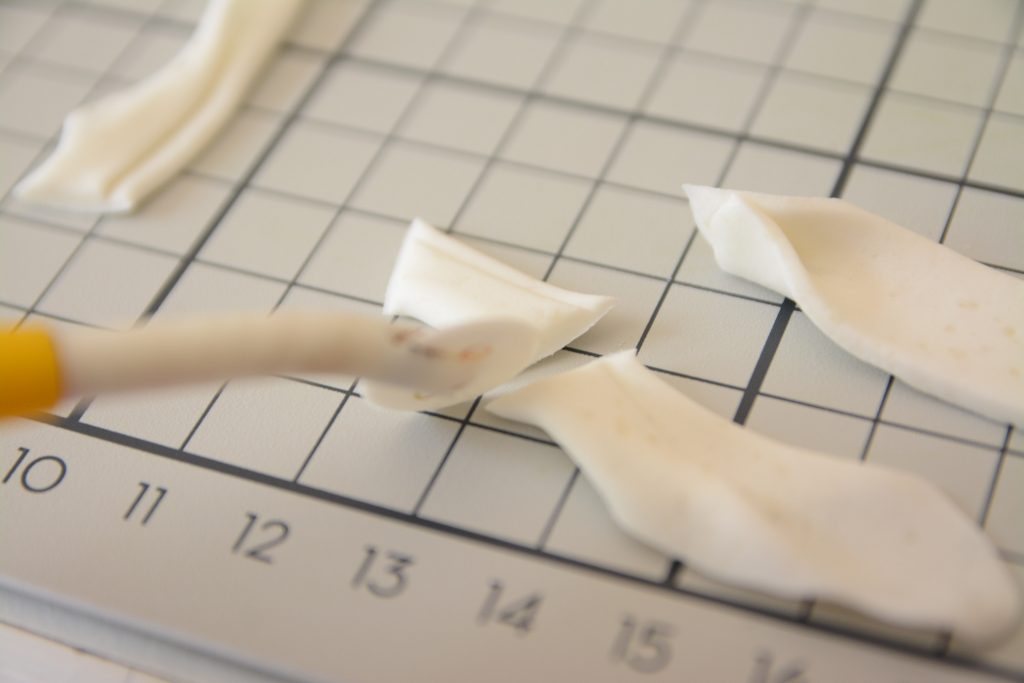
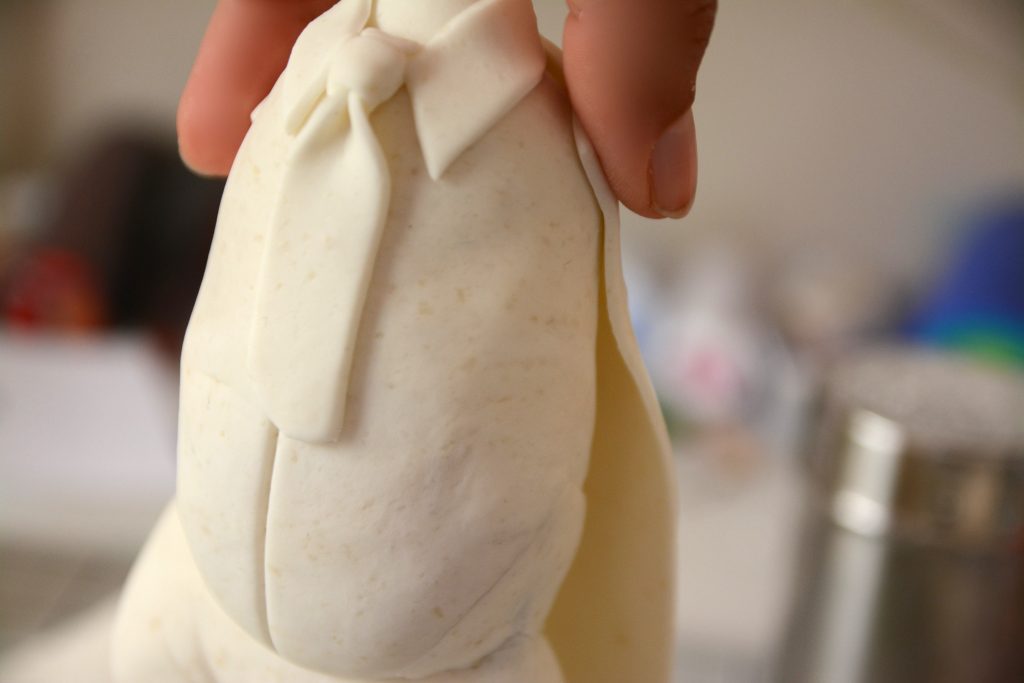
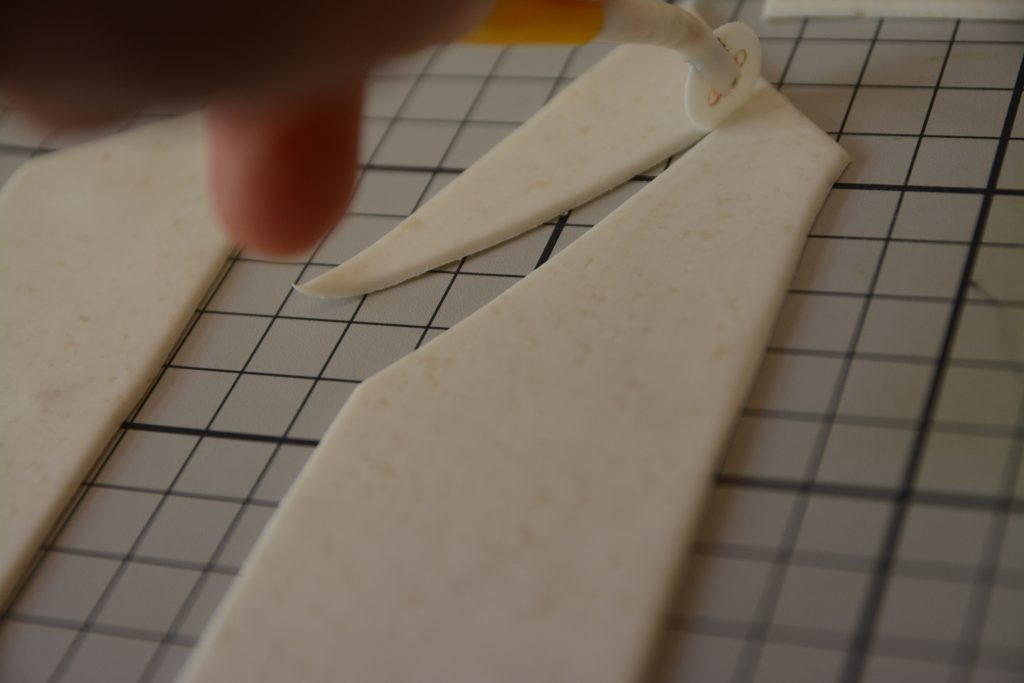
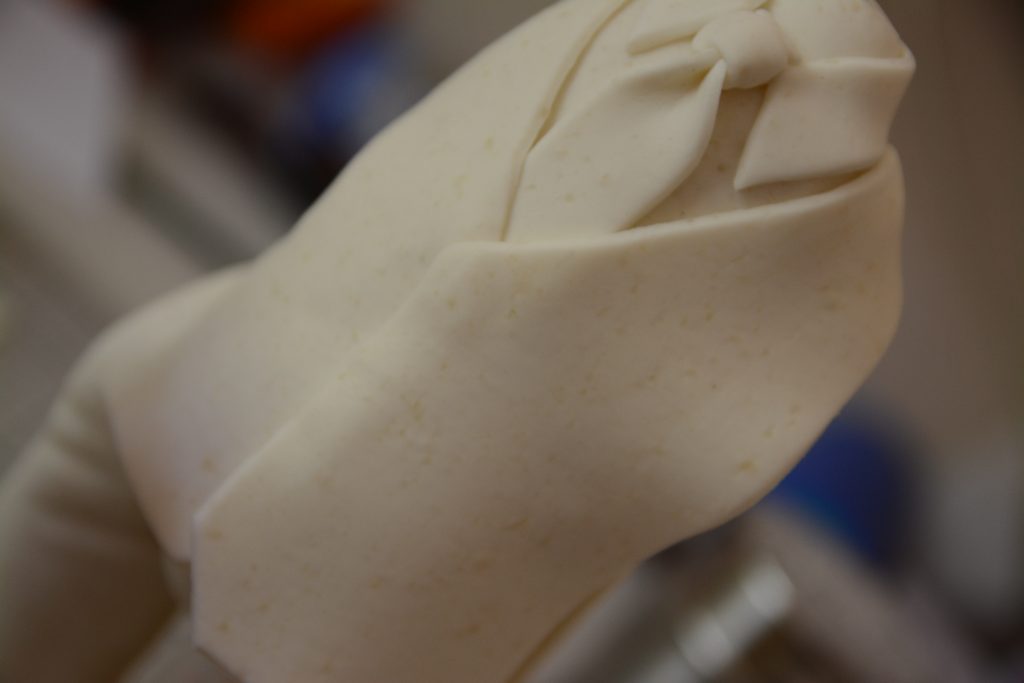
Step 28: Once again roll a thin sheet of marzipan and cut a small strip, press from one side, this is going to be his tie
Step 29: Pleat one more thin sheet and cut a triangular shape that will fit on top of the tie.
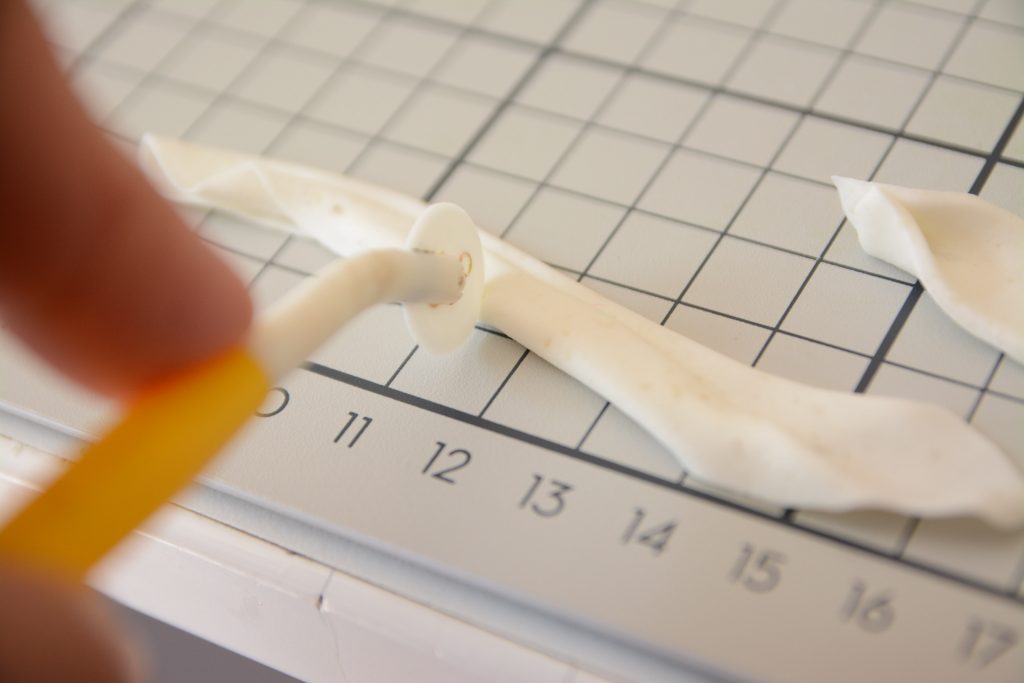
Step 30: Place on the part of the tie that was pressed and push the ends at the back, now glue it on the button line starting from the neck.
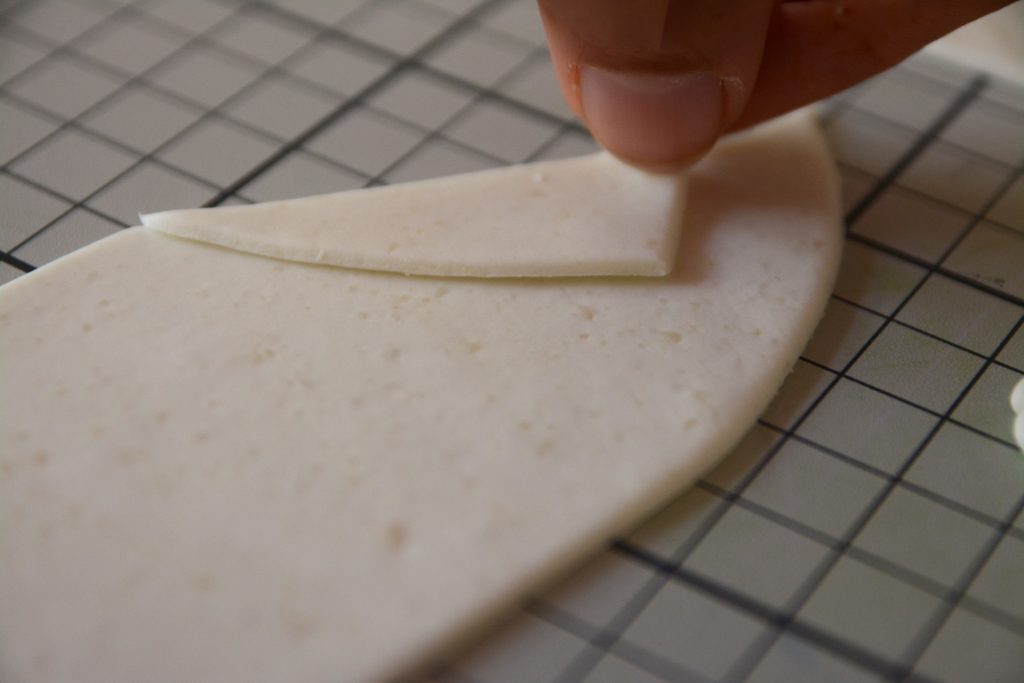
Step 31: For his suit, roll a sheet of marzipan and cut a rectangular shape,slightly cut a curved shape on the top

Step 32: Slit in the center of the bottom of your rectangular piece.
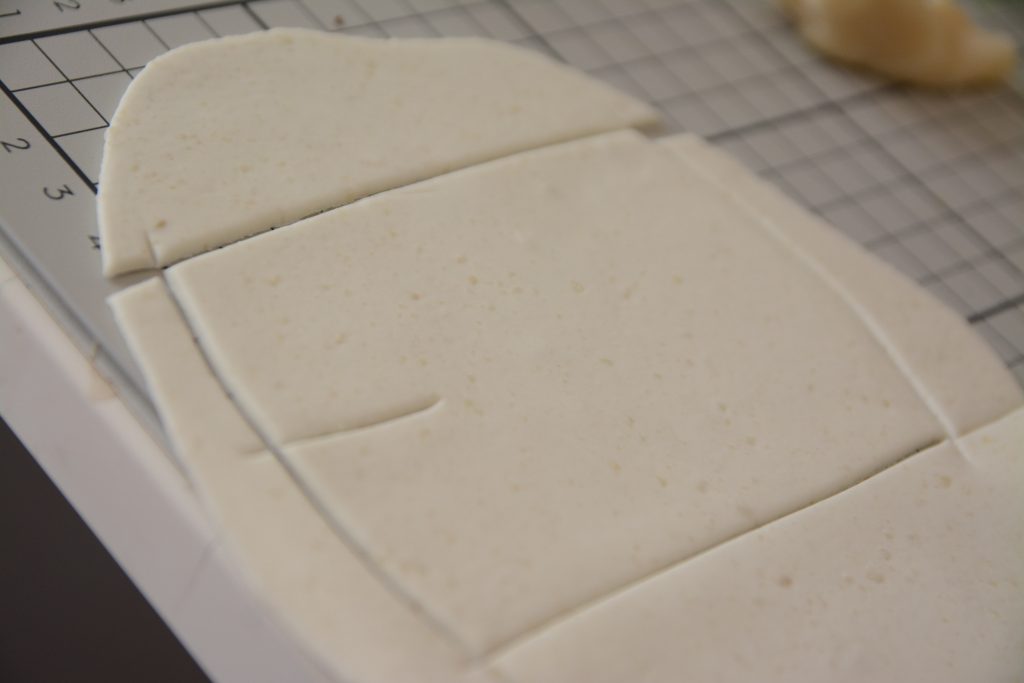
Step 33: Glue it on the back side.
Step 34: For the front of the suit cut two pieces as shown in the picture.
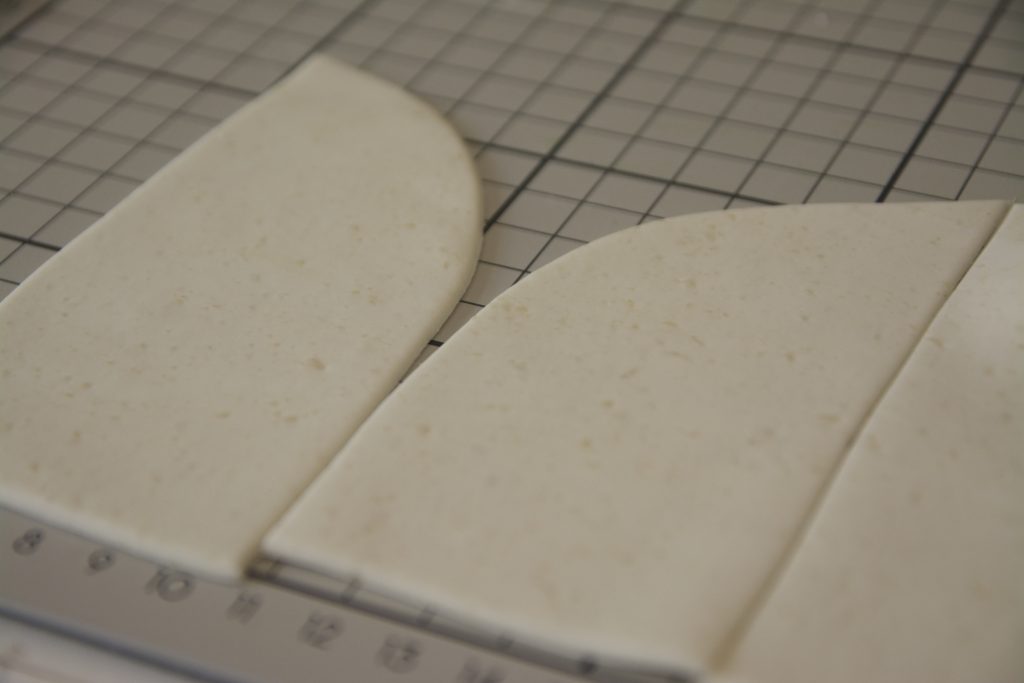
Step 35: Similarly cut two pieces for the waist coat

Step 36: Cut out one curved part to form a ‘V’ shape
Step 37: Cut a tiny piece from one side at the base

Step 38: Make another one for the opposite side. Glue both the pieces on the front as shown in the picture.
Step 40: Make tiny buttons and pierce a small hole in each using a small ball tool

Step 41: Now for the front of the suit, glue a small triangular piece on the curved side
Step 42: For the arms, roll a sausage shape.

Step 43: Press from one end.
Step 44: Cut a ‘L’ shape to form the thumb and rest of the hand.
Step 45: Give equidistant cuts for the fingers
Step 46: Smooth from sides of each finger and mark some finger lines.
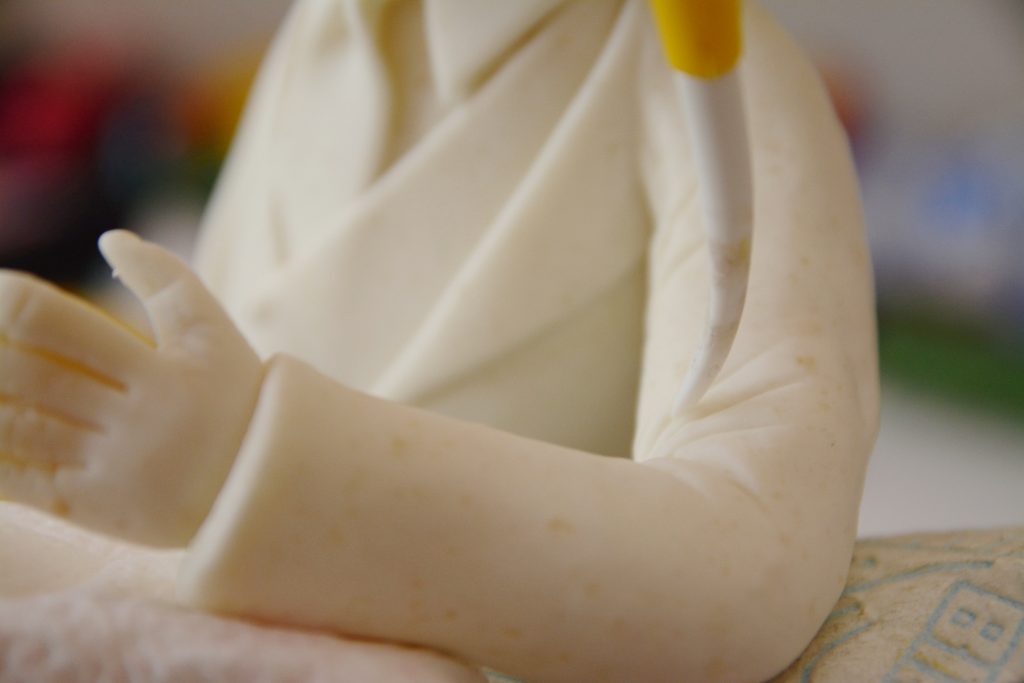
Step 48: Cut a rectangular piece for the sleeves, again use a thread to measure the size required
Step 49: Place around the arms and blend the joints.
Step 50: Glue the arms on,use a wire to insert the arms in position and mark some folds and creases.
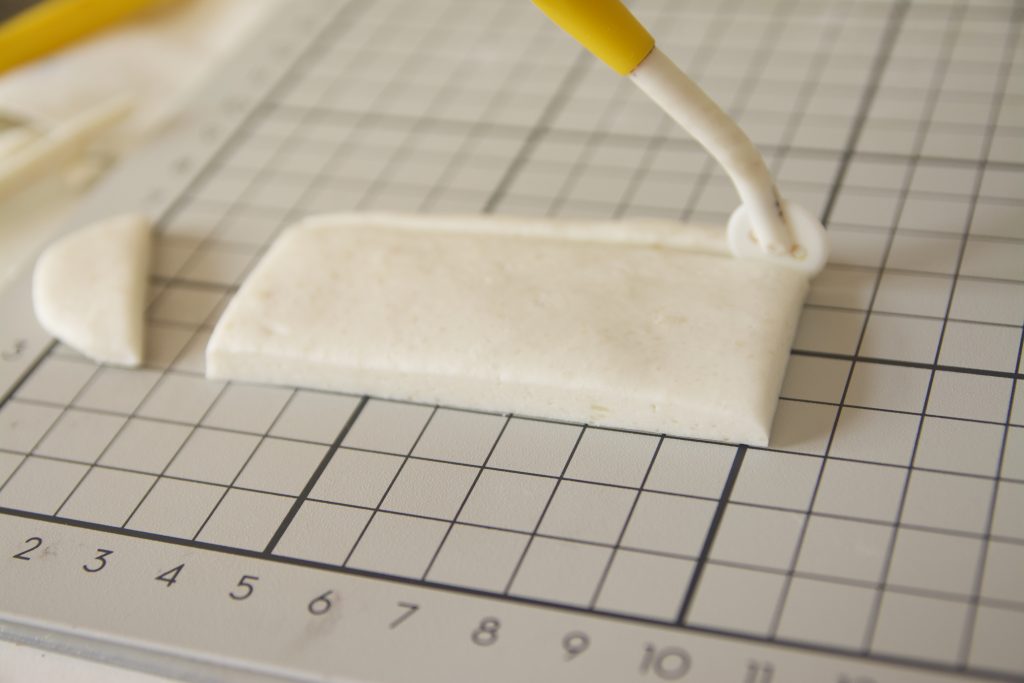
Step 51: For the magicians hat,roll an elongated piece about 2 inches long
Step 52: Cut all the edges to form a long strip.
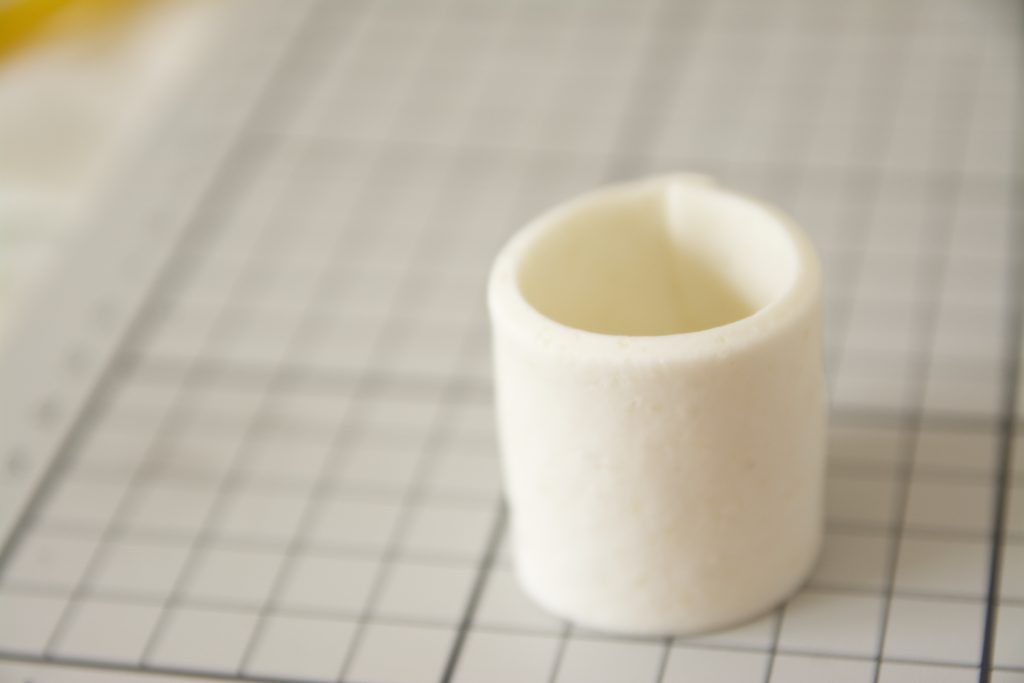
Step 53: Roll into a cylinder and glue on the end.
Step 54: Cut a thin long strip to form the rim and glue on the edge of the hat.